
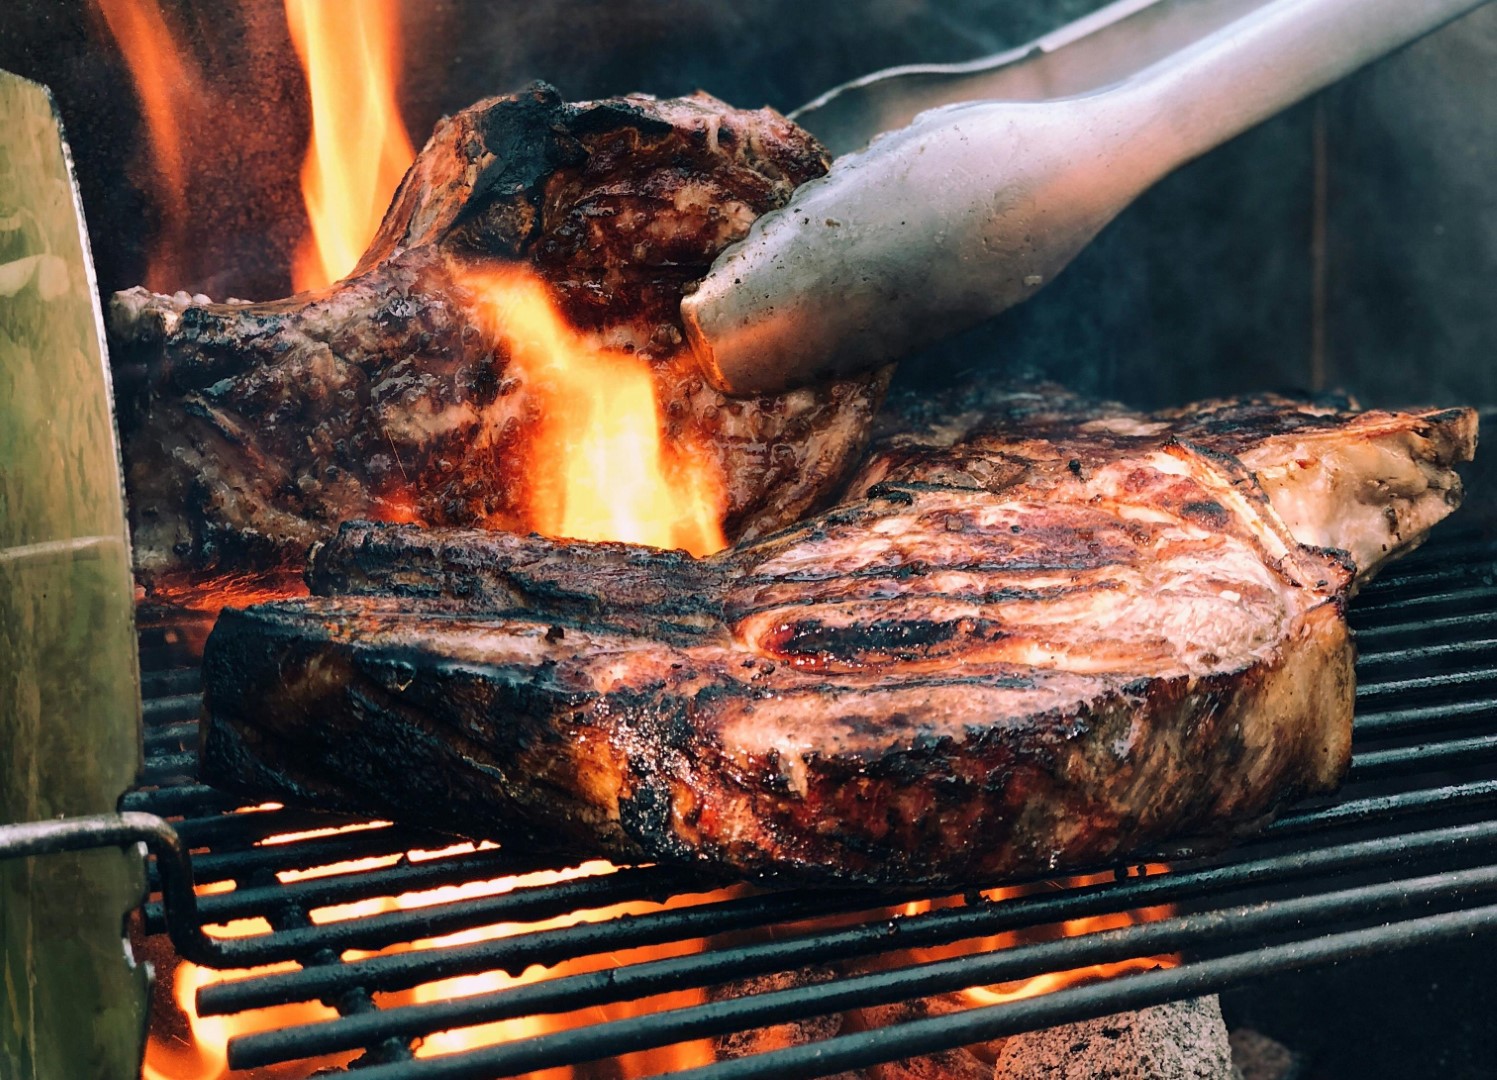
There’s nothing quite like the sizzle of a steak hitting a hot grill. It’s music to the ears of food enthusiasts everywhere. Grilling steak is an art and a science, and mastering it can turn you into the hero of your next cookout. But if you’ve ever faced a crowd of hungry friends and found yourself unsure of how to grill steak to perfection, fear not! This guide is your ticket to becoming a grill master. Get ready to impress with juicy, flavorful steaks that will have everyone asking for your secret.
Preparing Your Steak for the Grill
Choosing the Right Cut
When it comes to grilling, not all steaks are created equal. The key to grilling success starts with selecting the right cut. Ribeye, with its marbling of fat, promises a juicy and flavorful feast. Sirloin offers a leaner option but doesn’t skimp on taste. And then there’s the tenderloin, known for its buttery texture. Choosing the right cut depends on your taste preferences and budget, but remember, a great grill-out starts with great ingredients. For more in-depth information (and also see some recommendations on other cuts) check out our article about various steak cuts.
Seasoning Your Steak
Seasoning can make or break your grilled steak. A simple sprinkle of salt and pepper can elevate the natural flavors, but don’t be afraid to experiment with marinades and dry rubs. Marinating your steak for a few hours before grilling can infuse it with mouthwatering flavors, while a dry rub will create a delicious crust. The key? Season generously, but keep balance in mind to let the steak’s natural flavor shine.
Mastering Grill Setup for Steak
Choosing the right grilling method is crucial to achieving steak perfection. Whether you opt for direct or indirect heat depends on the cut of the steak, its thickness, and your desired level of doneness. Direct heat is best for getting a quick sear and grill marks on thinner cuts, while indirect heat suits thicker steaks that need more time to cook through without burning. Understanding the nuances of each method allows you to tailor your approach, ensuring a juicy, flavorful steak every time. Here’s a deeper dive into how to master both techniques.
Direct Heat Grilling
Direct heat grilling places the steak right over the heat source, making it ideal for those looking for a crispy, caramelized exterior. Preheat your grill to a high temperature (450-500°F) to ensure a quick sear that locks in the juices. This method works best for steaks that are less than 1.5 inches thick, as it cooks the meat quickly and efficiently. Remember, the key to direct grilling is to monitor your steak closely, flipping it at the right moment to achieve perfect grill marks without overcooking.
Indirect Heat Grilling
For thicker cuts or when you’re aiming for a gentle cook, indirect heat grilling is your go-to method. By setting up your grill so that the steak cooks next to the heat source, you create a more controlled environment, similar to an oven. This technique allows for slow, even cooking—perfect for achieving uniform doneness throughout the steak. It’s also an excellent method for finishing off a steak that’s been seared over direct heat, ensuring it reaches your preferred internal temperature without the exterior getting too charred.
The Main Event
Placing Your Steak on the Grill
Lay your steak on the grill with confidence. The sizzle should be your cue that the grill is just right. Place the steak down and resist the urge to move it. This patience pays off with a steak that’s seared to perfection.
Flipping Your Steak – Timing is Everything
The moment of flipping your steak on the grill is a pivotal point in the cooking process, one that can significantly impact the outcome. Achieving a perfectly grilled steak requires more than just intuition; it involves understanding the science of cooking and the signs that indicate the right time to flip. Here’s an expanded look at how to master this step.
Understanding the Right Time to Flip
Flipping your steak at the right time is crucial for several reasons. First, it ensures that you achieve an even sear and caramelization on both sides of the steak, contributing to its flavor and texture. Secondly, it helps to control the cooking process, ensuring that the steak cooks evenly throughout without overcooking on one side. The general rule of thumb is to cook your steak for about 3-4 minutes on one side before flipping it, but this can vary depending on the thickness of the steak and the heat of your grill.
One key indicator that it’s time to flip your steak is when it releases naturally from the grill grates. If you try to lift the steak and it sticks, it’s not ready to be flipped. A steak that’s ready for flipping will have a crisp, golden-brown sear and will lift off the grill with minimal resistance. This natural release is a sign that the proteins on the surface have cooked sufficiently to form a crust, preventing sticking.
Technique and Tips for Flipping
When it’s time to flip your steak, doing so with the right technique is important to maintain the integrity of the meat and ensure even cooking. Use a pair of long-handled tongs to gently lift the steak and turn it over. Avoid using a fork or anything that might pierce the meat, as this can cause juices to escape, leading to a dryer steak.
After flipping, resist the temptation to press down on the steak with your tongs or spatula. While it might seem like this would help cook the steak more evenly, it actually forces the juices out of the meat, resulting in a less juicy final product. Instead, let the steak cook undisturbed on the second side, just as you did the first, until it reaches the desired level of doneness. This method ensures that your steak remains succulent and flavorful.
In summary, flipping your steak is not just a matter of timing; it’s an art that involves recognizing the right signs and employing the correct technique. By paying close attention to the steak’s appearance and resistance, and by handling it gently, you can achieve a beautifully grilled steak that’s cooked to perfection. Remember, patience and attention to detail are your best tools when grilling steak, leading to delicious results every time.
Testing for Steak Doneness: With and Without a Thermometer
Achieving the perfect level of doneness is a critical final step in grilling steak. Whether you prefer your steak rare, medium, or well-done, knowing how to accurately gauge its doneness ensures a satisfying meal. If you’re unsure about what level of doneness is for you, check out our article on the various doneness levels of steak. Let’s explore methods to test steak doneness, both with and without a thermometer, equipping you with the skills to nail this crucial step every time.
Using a Meat Thermometer
The most foolproof method to test for doneness is using a meat thermometer. This tool can help you achieve your desired doneness accurately, taking the guesswork out of grilling. Here’s a quick guide to internal temperatures for steak:
- Rare: 120-130°F (49-54°C) – The steak will have a red center that’s cool to touch.
- Medium Rare: 130-135°F (54-57°C) – Warm and mostly pink in the center.
- Medium: 135-145°F (57-63°C) – Hot with a pink center.
- Medium Well: 145-155°F (63-68°C) – Slightly pink in the center.
- Well Done: 155°F (68°C) and up – Mostly brown throughout.
Insert the thermometer into the thickest part of the steak, avoiding fat or bone, for an accurate reading. Remember, the steak will continue to cook slightly after it’s removed from the grill, so you may want to pull it off a few degrees before it reaches the desired temperature.
The Touch Test
If you don’t have a meat thermometer handy, the touch test is a reliable alternative used by chefs to gauge doneness. This method involves comparing the firmness of your steak to the feel of a pad of muscle found at the base of your thumb (see image for clarification).
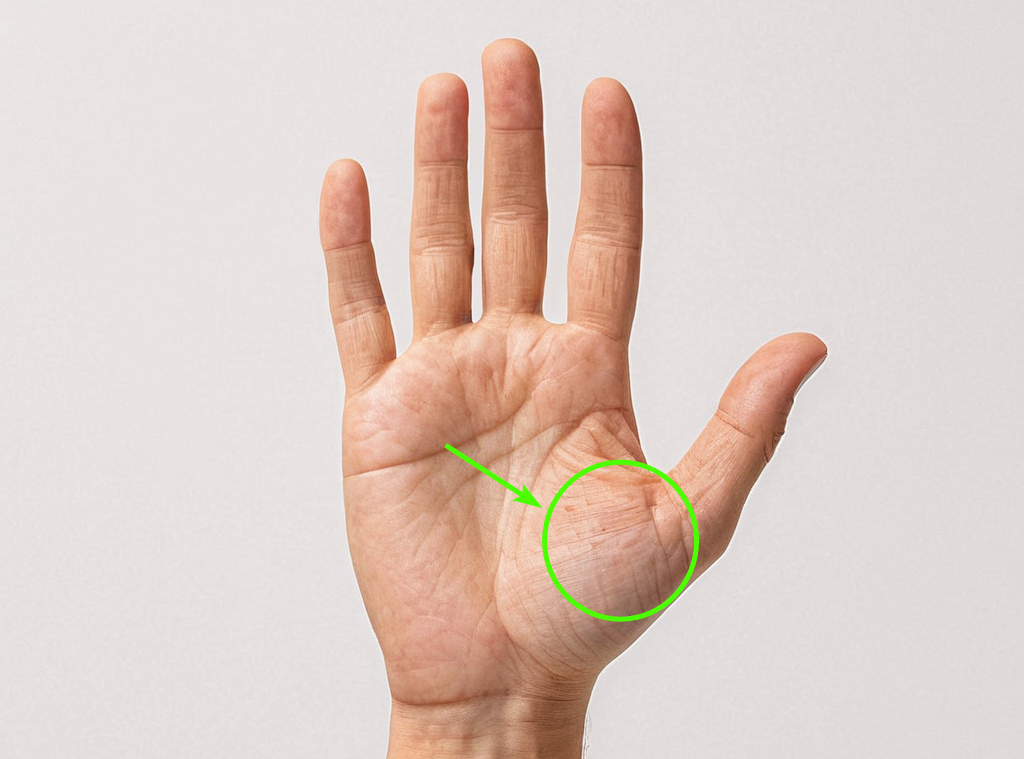
- Rare: Press the pad at the base of your thumb. It should feel soft and spongy, similar to a rare steak.
- Medium Rare: Bring your thumb to your index finger and press the same part of your palm again. It should feel slightly firmer, like a medium-rare steak.
- Medium: Touch your thumb to your middle finger. The pad of your hand will firm up, mimicking the resistance of a medium-cooked steak.
- Medium Well: Touch your thumb to your ring finger. The pad will feel firmer still, indicating the feel of a medium-well steak.
- Well Done: Touch your thumb to your pinky. The pad of your hand now feels very firm, similar to the consistency of a well-done steak.
Visual and Juice Tests
Another method to test doneness is observing the juices on the surface of the steak. As it cooks, the juices will rise to the surface. For a steak that’s about medium-rare, juices will start to pool. As it reaches medium, the steak will be firmer to the touch, and the juices will be more pronounced. A well-done steak will have little to no pink juices, appearing drier on the surface.
Combining these methods can help you achieve your desired level of doneness, even without a thermometer. Remember, practice makes perfect, and each steak is an opportunity to hone your skills. By paying close attention to these indicators, you’ll be well on your way to grilling steaks to perfection, satisfying every palate at your table.
Resting Your Steak
After your steak has reached its perfect level of doneness, the temptation to cut into it immediately is real. However, patience is a virtue that pays off. Letting your steak rest for about 5 to 10 minutes allows the juices to redistribute throughout the meat, ensuring every bite is as juicy and flavorful as possible. Think of it as giving your steak a well-deserved break after a hot session on the grill.
Post-Grill Perfection
Serving Suggestions
Now that your steak has rested, it’s time to make it a meal. Pairing your grilled masterpiece with the right sides can elevate your dining experience. Classic options like a baked potato, grilled asparagus, or a simple arugula salad can complement the rich flavors of the steak. And let’s not forget a dollop of herb butter on top for that final touch of decadence. Presentation matters, so take a moment to slice your steak against the grain for tender, easy-to-eat pieces that look as good as they taste.
Common Grilling Mistakes to Avoid
Grilling steak can seem intimidating, but knowing what pitfalls to avoid makes all the difference. One critical aspect is ensuring you don’t overcrowd the grill, as this can lead to uneven cooking; give your steaks their space. Another key factor is the grill’s cleanliness, which can significantly affect the taste of your steak; remember, a clean grate is a happy grate. Moreover, resist the temptation to flip your steak too frequently. Trust in the process and allow it time to develop that perfect sear. Lastly, it’s important to acknowledge that not all grills are created equal. Understanding the quirks of your specific grill can help you manage heat and cooking times more effectively. For a deeper dive into these topics and more, consider exploring our guide on common grilling mistakes and how to avoid them, which provides comprehensive insights into steering clear of common errors. Adhering to these guidelines will set you on the path to grilling success.
Conclusion
Grilling the perfect steak doesn’t have to be a daunting task. With the right preparation, understanding your grill, and mastering a few key techniques, you’re well on your way to achieving grill master status. Remember, every steak is an opportunity to refine your skills, so don’t be afraid to experiment. Whether it’s trying different cuts, seasonings, or cooking times, each grill-out is a chance to discover what works best for you. So fire up the grill, gather your friends and family, and get ready to enjoy the fruits of your labor. Happy grilling!
[…] Tips and tricks for grilling your steak […]